
Little Keyboards Reviung41
23/08/2021
I'm into these column stagger layouts as touch-typing aids. Using something like MonkeyType you can get proficient pretty quickly, and you're supposed to use them not looking at your hands at all. I'm fairly accurate and quick with them now, as long as I'm not having to actually think about what I'm writing as I write. It is, somehow, not a relief that my hands can now move faster than I can think, but I'm telling myself that it's my hands getting faster, and not my brain getting slower.
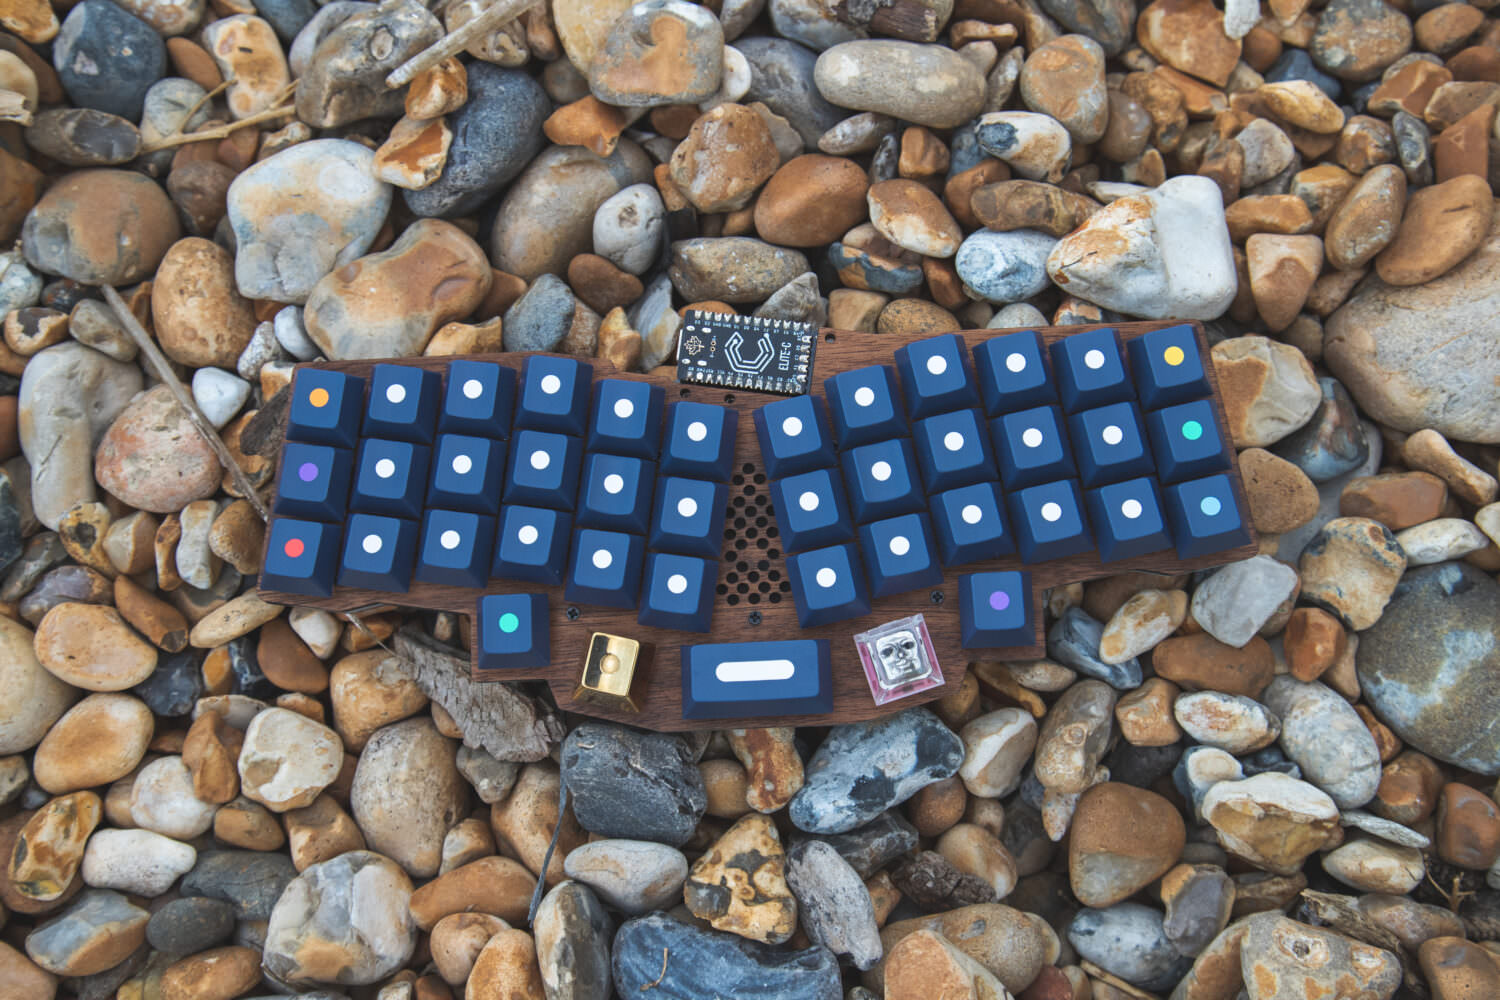
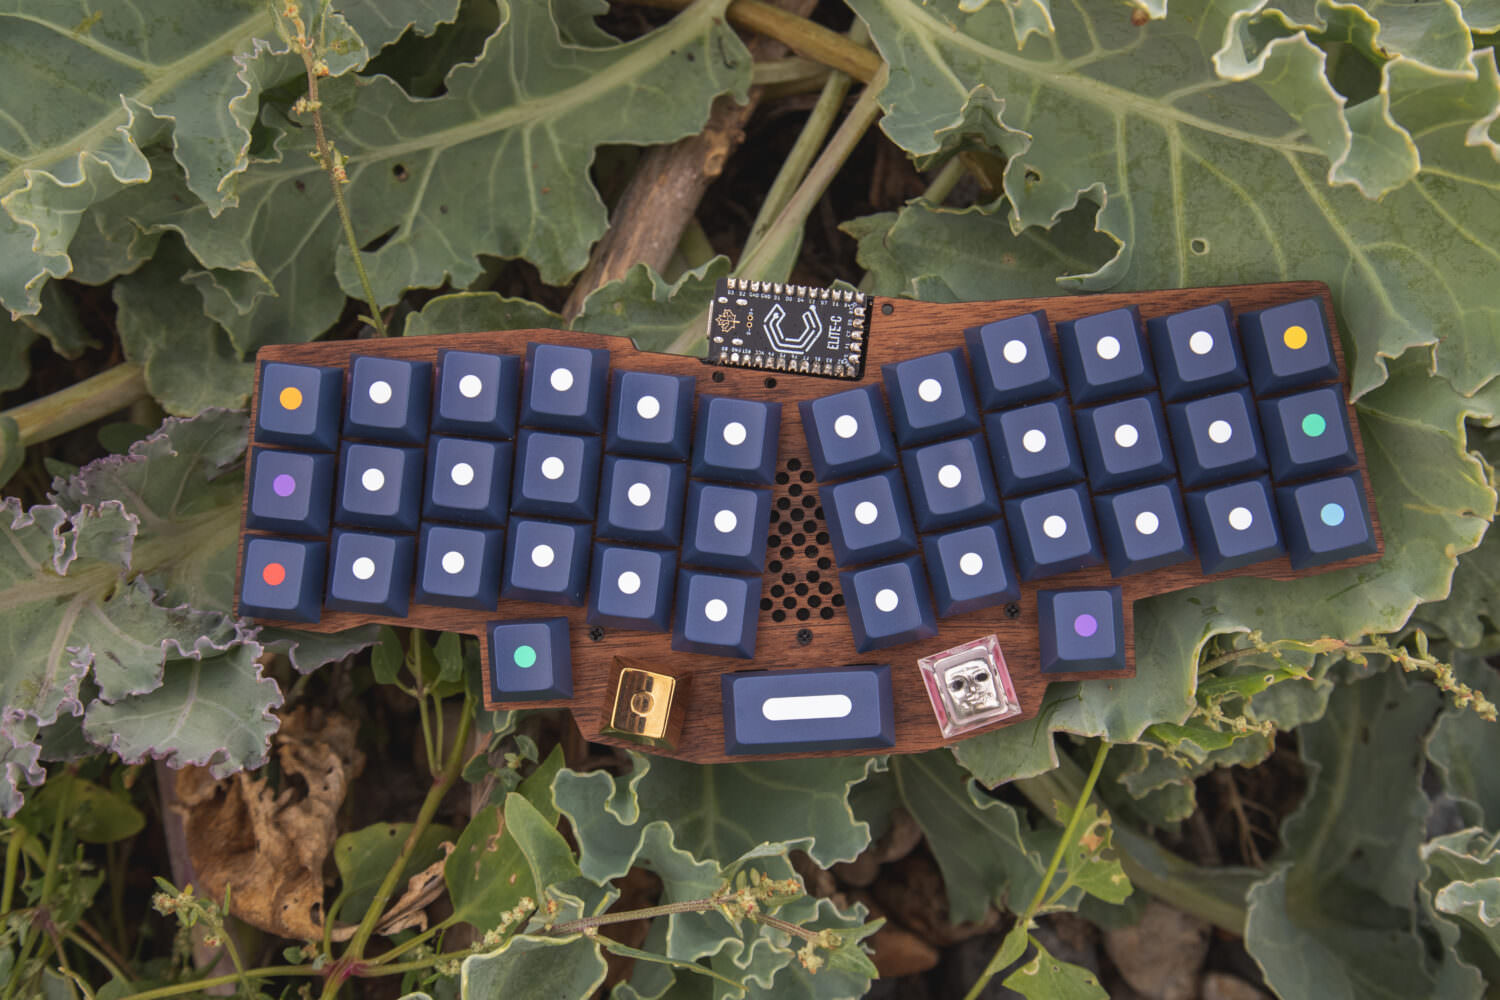
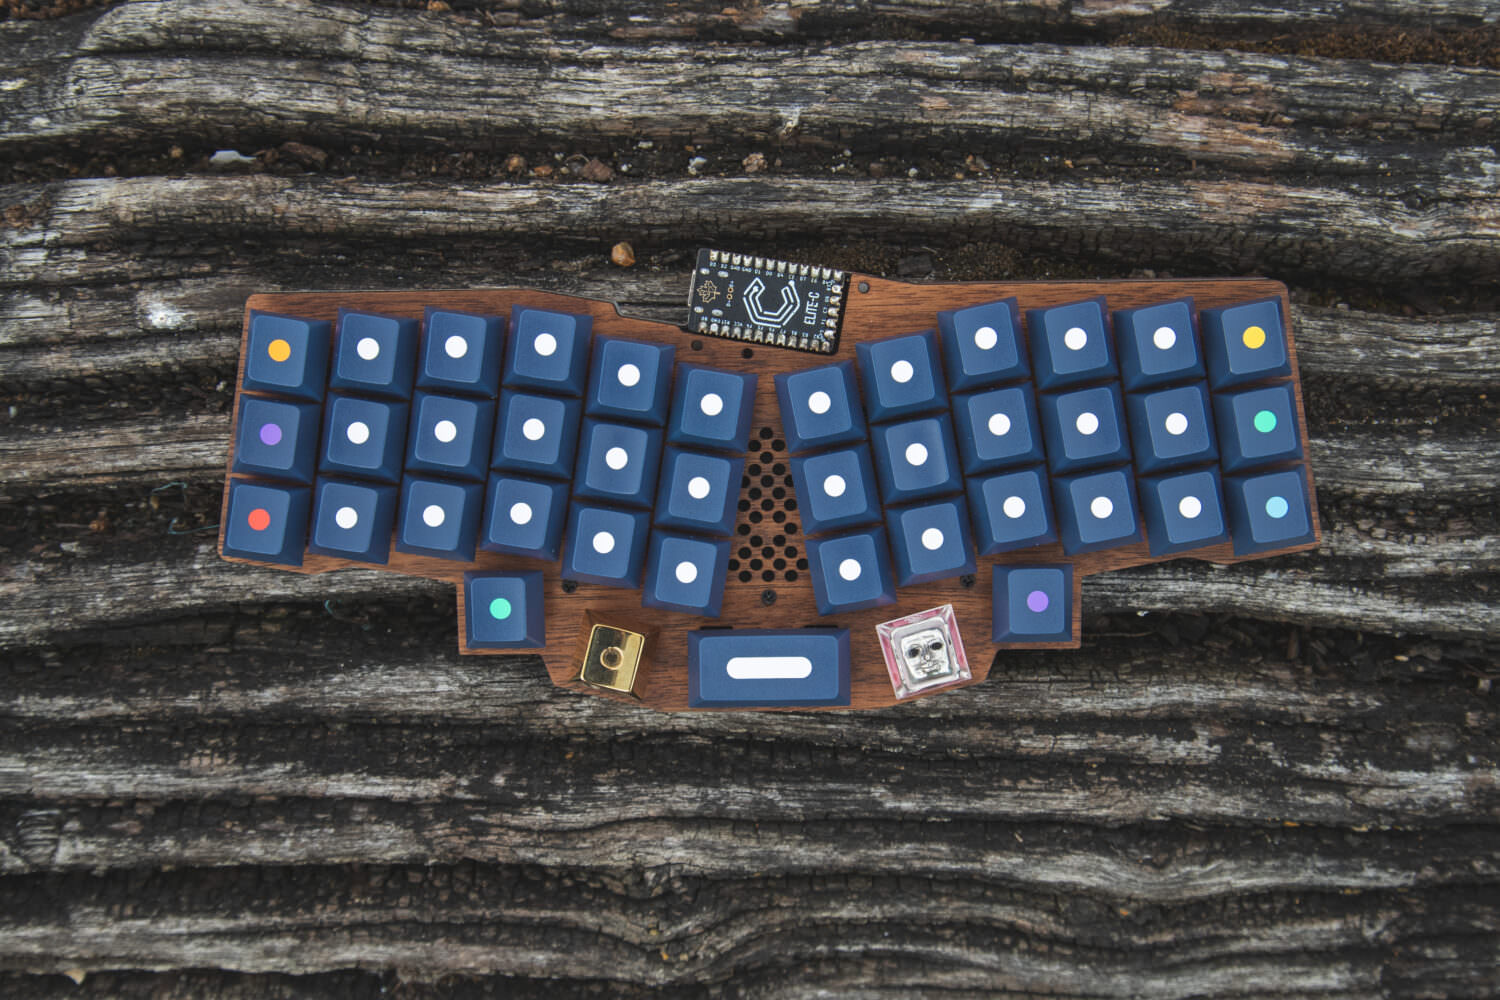
This build was kinda annoying. The product listing linked to a Japanese language build guide which is super helpful when you do not read Japanese. I do not recommend this board, or this kit for beginners and let me tell you why: the plate is beautiful and fits Gazzew switches nicely (some are quite tight and prone to cracking. First switch insertion was ultra careful, let me assure you!), but it doesn't play nicely with any stabiliser I have in my drawers. I have GMK screw-ins and standard Cherry clip-ins, and neither is ideal. I had to cut a big chunk out of each side of my GMK screw-ins, and fit them without the wire otherwise the plate presses on it and makes the spacebar super sticky. I feel like there's something I'm missing here, and maybe it's in the Japanese-language build guide. I guess I will never know; learning Japanese is something on my "I'll definitely do that one day" list, that we all know I will never get started on.
Other than that it's a pretty standard SMD diode build with Kailh hotswaps and LEDs. The reset switch gets mounted on the underside. This is probably obvious to everyone other than me.
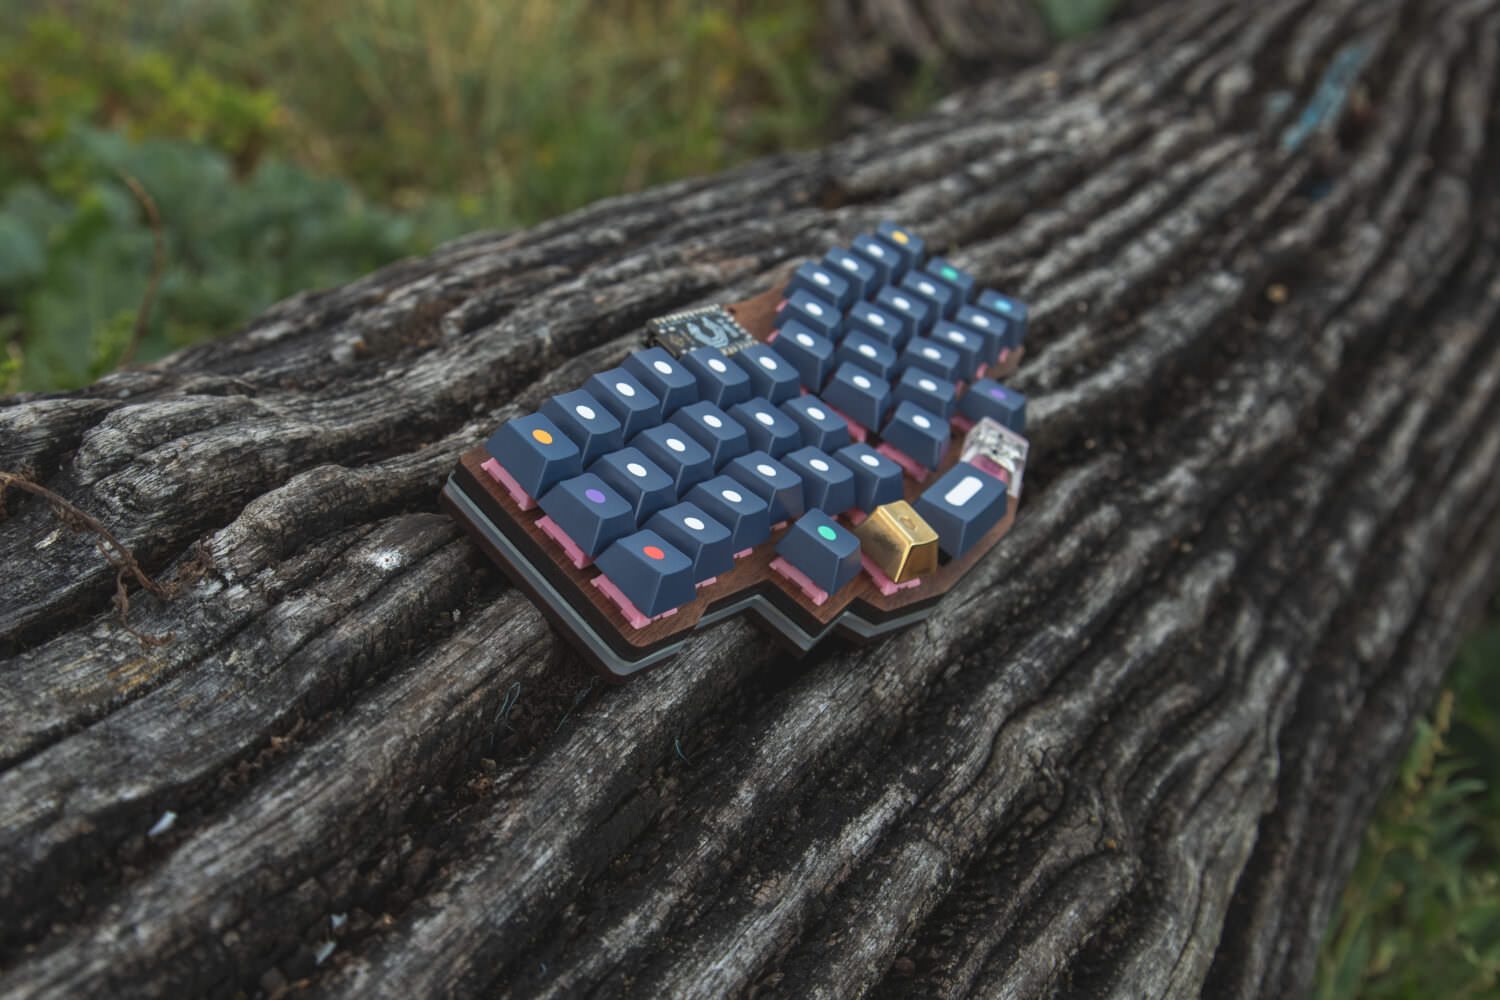
The results, though. I am very happy. Very. It's a treat to type on this thing once you get used to it. Because I can have my Corne halves laid out assymmetrically without realising, it took a minute to get used to using this symmetrically, but once I did it's been brilliant. I was going to use this with a nice!nano and an 80mah battery but I decided not to because the build annoyed me. I have socketed controllers (and I recommend that you always do too - these things are expensive and are always unpredictable with stock. Socketing is just best) so I might swap this around, but an 80mah battery only lasts about a week so I feel like it'll be more annoying wireless. The QAZ has space for a 600mah battery and that lasts about 5 weeks which is much better for me.
Overall, if you've built a few boards before and you're comfortable with the general order of business, and SMD components then I highly recommend this. If you're not confident with any of that then I probably would do something else first as there's plenty of scope to mess this up and make it a harrowing experience.
And always socket your microcontrollers. Socket everything, really. Screens too. If I knew how to socket rotary encoders then I'd do that as well.
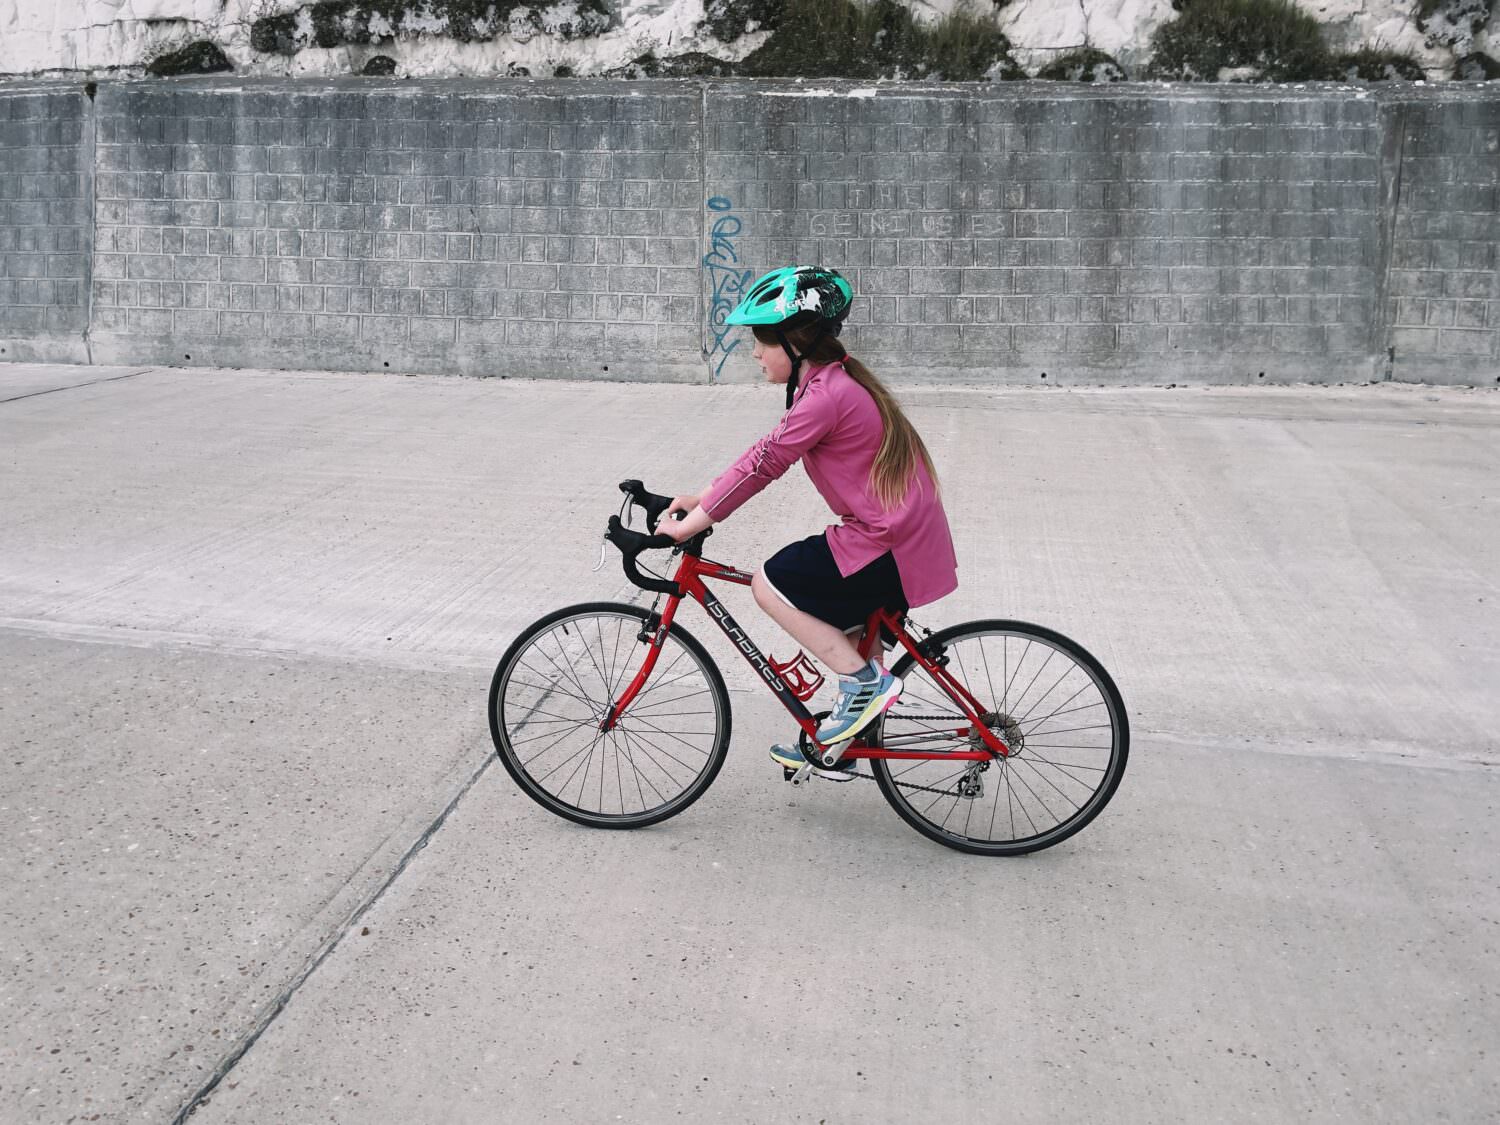

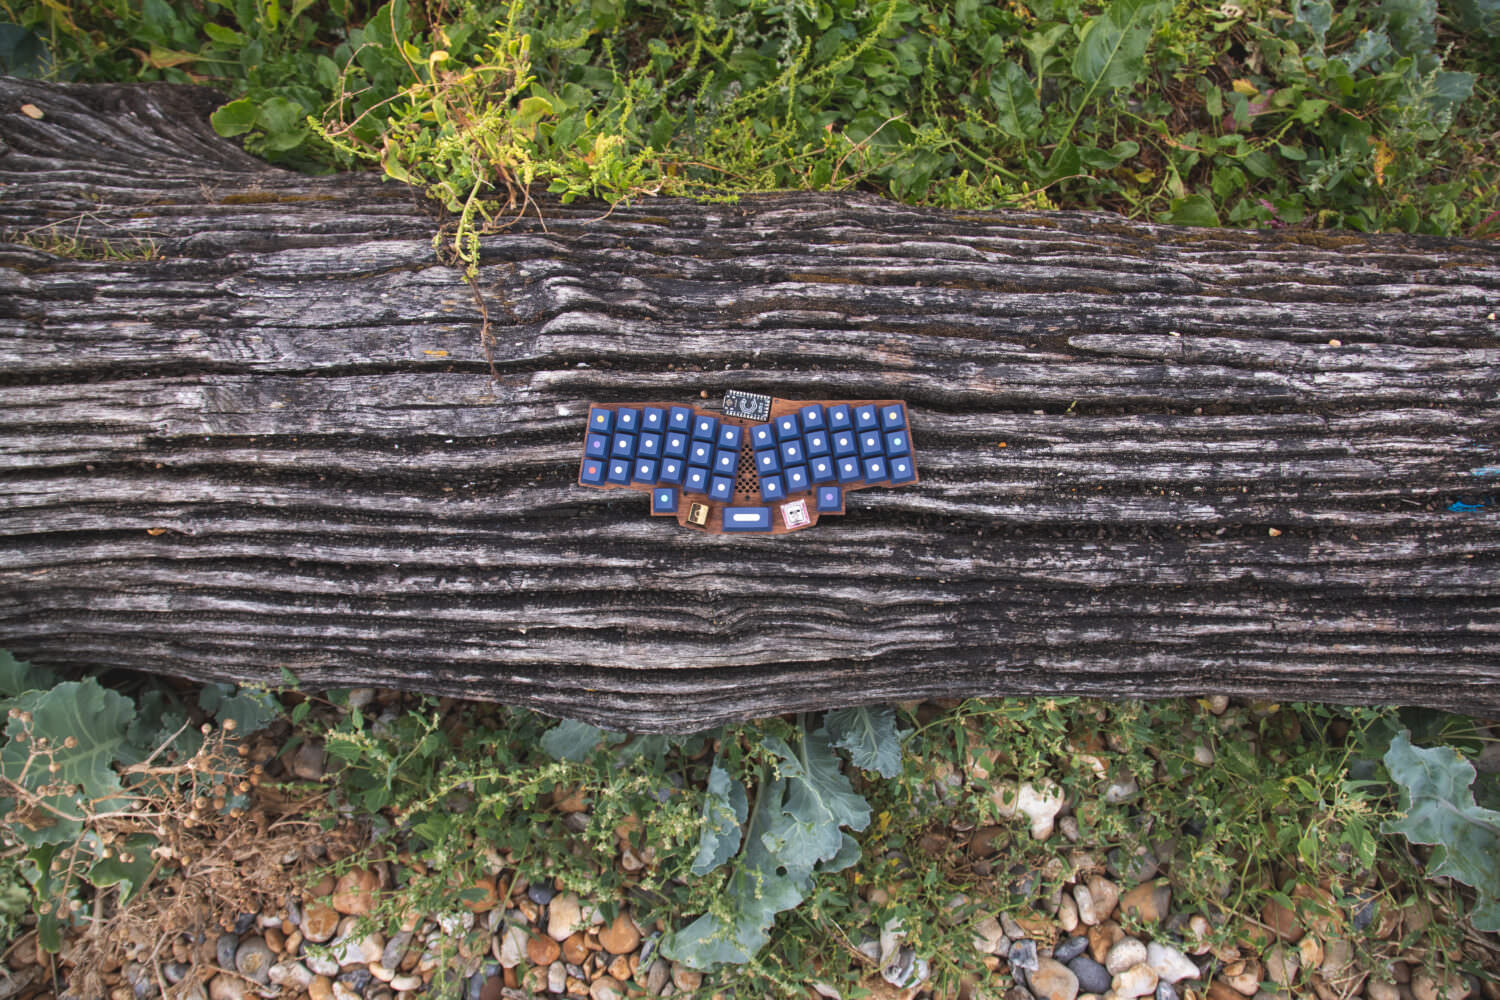
To get these pictures, Tabitha and I went out together. She went on her new bike, and I skated. I've been wanting to skate for so long but between hurting my back and being away for the week I haven't had time. I thought, since she's not super fast on a bike, I could skate and that would be fine. Turns out, the kid can accelerate when she wants to. With the wind behind me I was fine, but when it was in my face I was struggling to keep up with her.
Still we had a lot of fun and probably did 10km this evening, which is decent for her on a new bike. Considering I did 40km on the trainer this morning, and took the dog for a 5km walk at lunch, I am now quite ready for bed.